1. What Is Heroku
Heroku is a PaaS (Platform as a Service) cloud service. Heroku makes it easy to create and connect the various tiers you need (e.g. a DB) from a terminal or the web. The initial version only supported the Ruby language, but it now supports most major languages.
1.1 Heroku Features
-
Deploys apps with Git commands
-
Apps run inside Dynos, lightweight virtualized containers, when deployed
-
Supports multiple languages (Ruby, Java, Node.js, Scala, Clojure, Python, Php, Go)
-
Add-ons
- Provide various backend services such as databases (e.g. redis, mongodb, mysql)
- You can find and install the add-ons you need from the Elements marketplace
-
Subscription pricing
-
Free
- Comes with free Dyno hours (e.g. starts with a default of 550 hrs)
- Switches to sleep mode after 30 minutes of inactivity
- On reconnect, response time may be slower due to the wakeup time
-
Paid - there are 3 subscription tiers
-
2. Getting Started with Heroku
2.1 Creating a Heroku Account
First, go to the Heroku site and create an account.
2.2 Installing the Heroku CLI
Install the Heroku CLI (Command Line Interface) so you can manage Heroku apps from a terminal. This post is written for Mac. For other OSes, please refer to the Heroku install guide.
$ brew install heroku
$ heroku --version
heroku/7.7.10 darwin-x64 node-v10.8.0
2.3 Logging In to Heroku
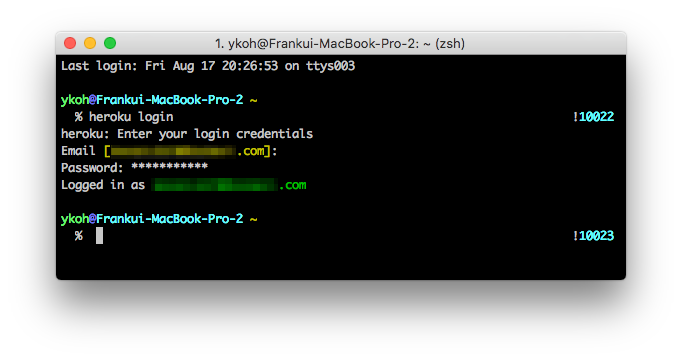
To do anything with Heroku, you first need to log in to your Heroku account with the login command.
$ heroku login
2.4 Required Commands
Since Heroku uses git for deployment, git must be available. On macOS, if Xcode is installed, git is available in the terminal by default.
$ git --version
git version 2.15.2 (Apple Git-101.1)
3. Creating Sample Code, Modifying It, and Deploying
In a real development workflow, after first creating a project you keep repeating the cycle of modifying code, testing in the development environment, and deploying to the server. Let's look at how you can easily push the code you're developing to the Heroku cloud.
3.1 Creating a Sample Project
Download the sample project that Heroku provides by default.
$ mkdir -p ~/src
$ cd src
$ git clone https://github.com/heroku/node-js-getting-started.git
$ cd node-js-getting-started
3.2 Running in the Development Environment
Let's install the Node.js modules the app needs and run it.
$ npm install
$ npm start

3.3 Deploying to the Heroku Cloud
$ heroku create
Creating app... done, ⬢ nameless-falls-97478
https://nameless-falls-97478.herokuapp.com/ | https://git.heroku.com/nameless-falls-97478.git
First, the create command creates the related Git repository and an empty app on Heroku.
-
App URL
-
Heroke Git repository
If you don't specify a name in the create option, a random name is generated (e.g. here it was created as nameless-falls-97478). Even after the app is created, you can change the app name with the apps:rename option.
$ heroku apps:rename newname
Now let's actually deploy to the Heroku cloud. When you push to the Heroku repository with a Git command, the deployment completes. Pretty easy, right? lol
$ git push heroku master

Once the source is uploaded, it goes through a build process, and you can access the web app by visiting the public URL. The entry point Heroku uses to start the web app after the build process is defined in the Procfile.
$ cat Procfile
web: node index.js
If there's no Procfile, it starts with the start script defined in package.json.
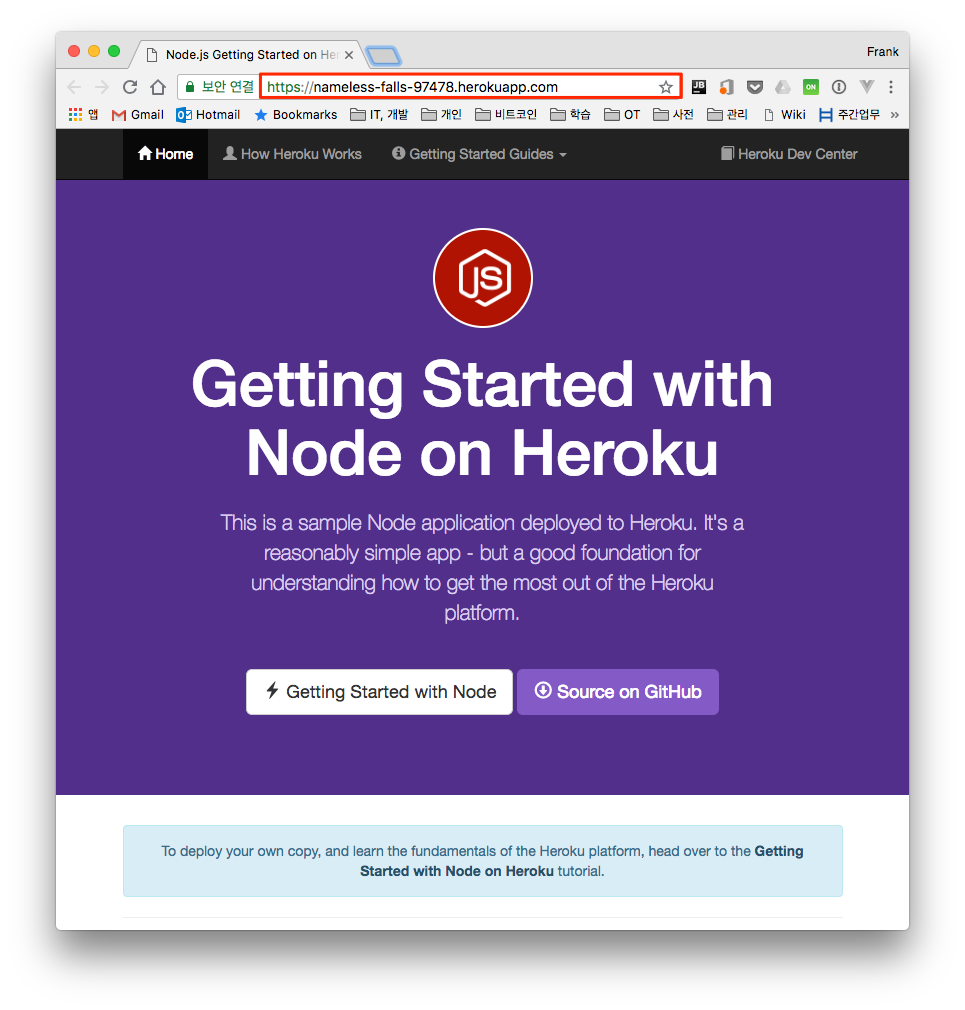
4. Opening the Deployed Site
Let's check in the browser whether it deployed properly. You can see the browser open, connect to the public URL, and load the page normally.
$ heroku open
4.1 Redeploying After Modifying Code
Now let's go through the process of modifying code and then deploying again. On the main page (views/pages/index.ejs), modify the title section.
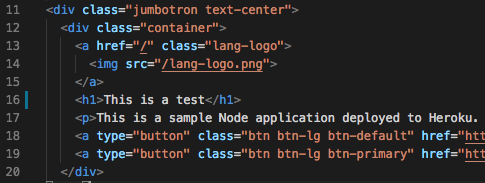
After verifying that the change worked correctly in the local environment, commit the code if everything looks fine.
$ npm start
$ git add .
$ git commit -m “Update index.”
[master cd8508b] Update index.
2 files changed, 1003 insertions(+), 1 deletion(-)
create mode 100644 package-lock.json
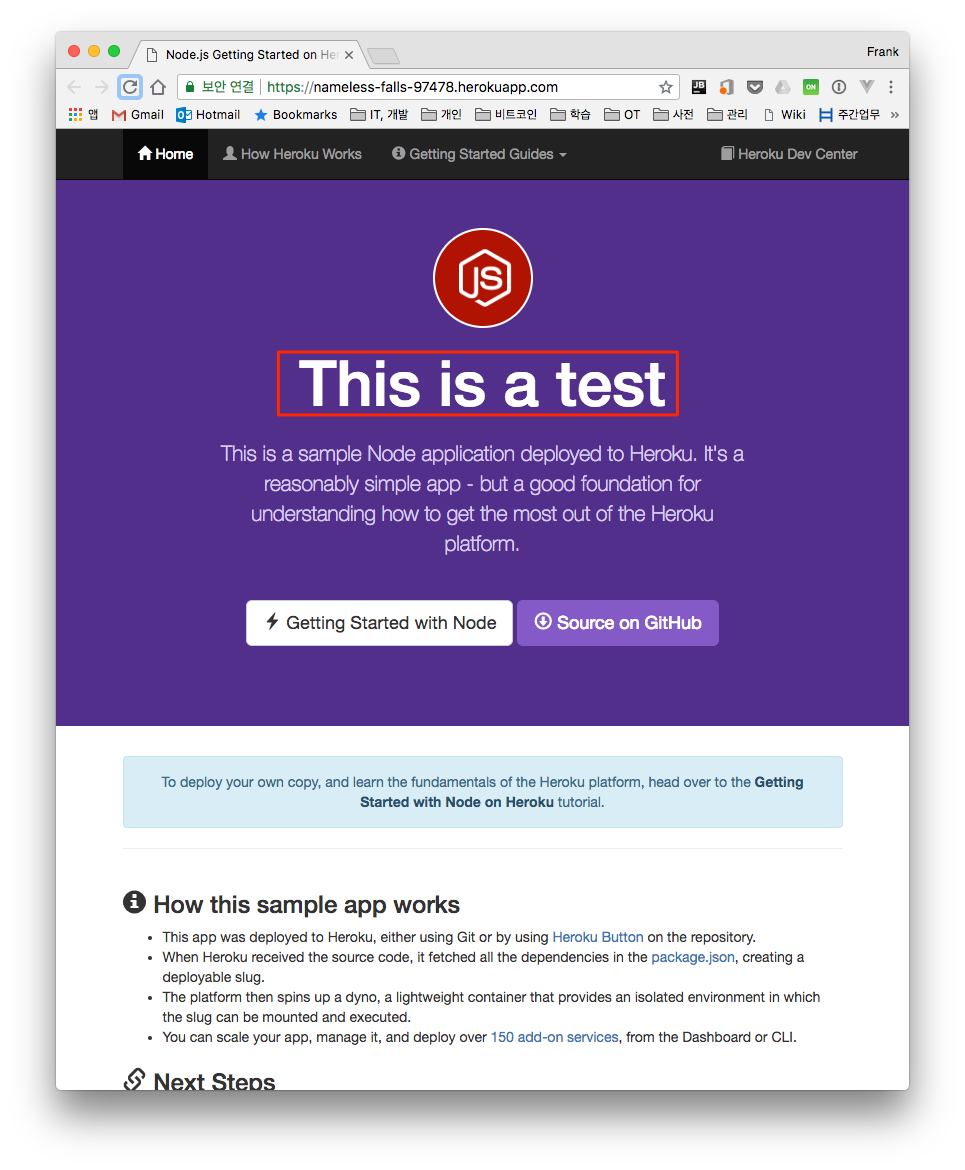
Deploy to Heroku and open the browser to confirm the change took effect. The changed title loads nicely.
$ git push heroku master
$ heroku open
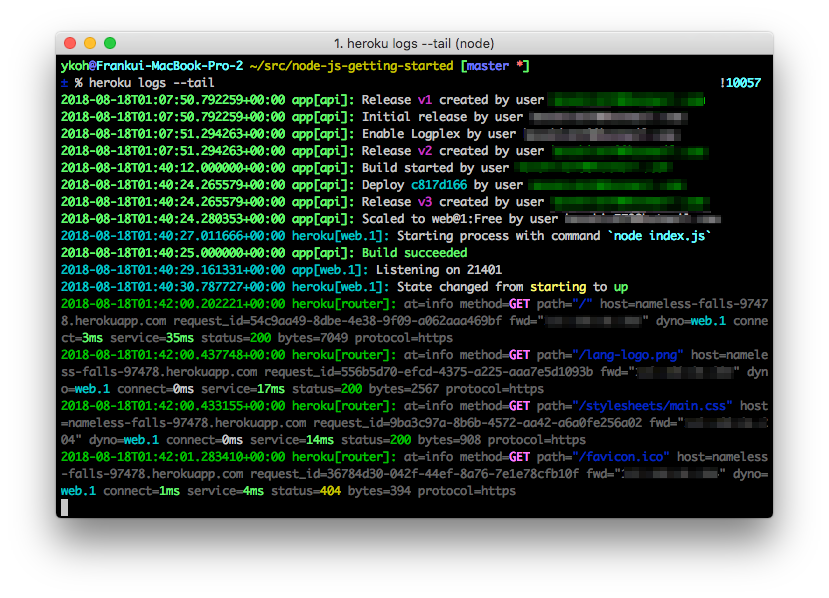
If you want to check the logs while the web app runs on Heroku, you can view them with the logs option.
$ heroku logs --tail
5. Installing the MongoDB Add-on and Connecting It with Node.js
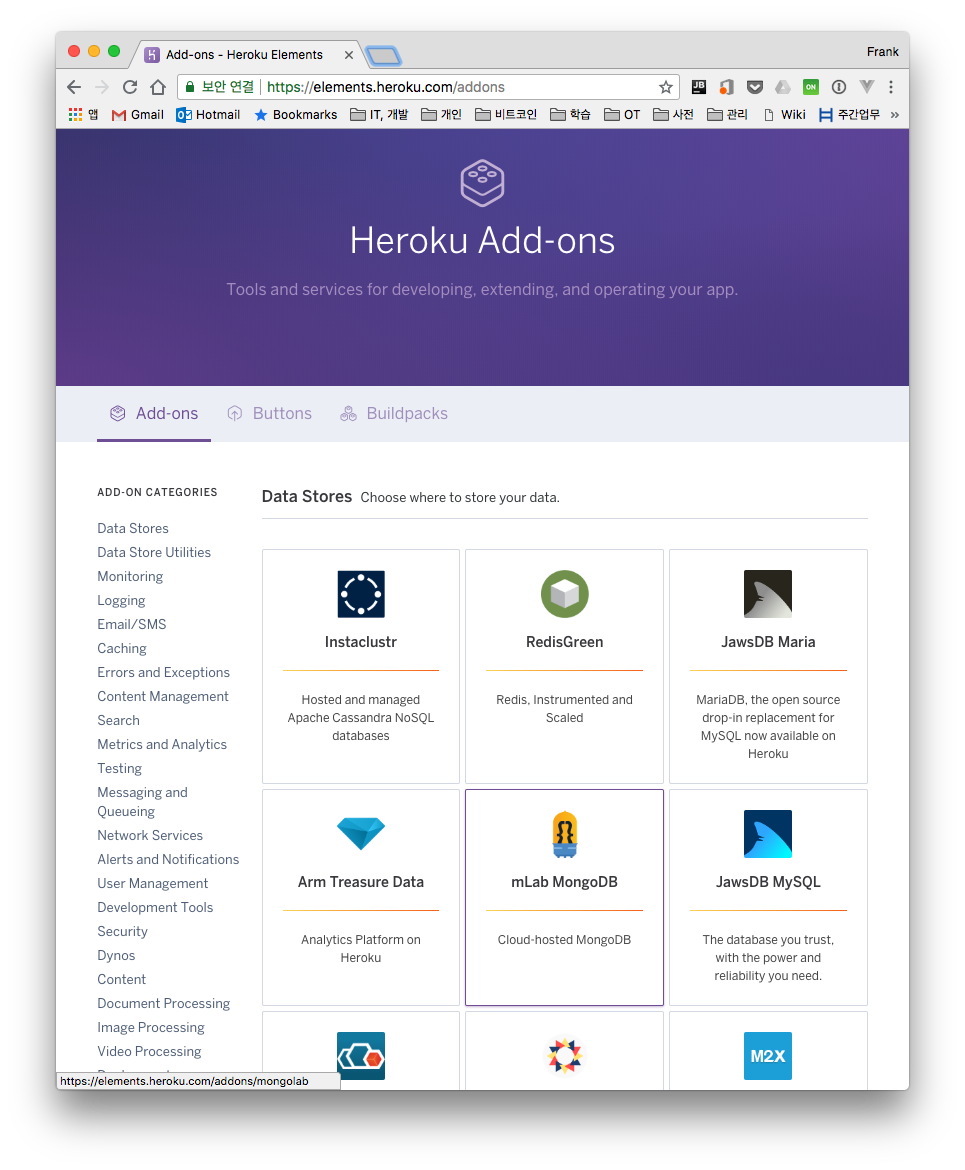
The add-on marketplace supports a large number of data stores (e.g. Postgres, Redis, MongoDB, MySQL). In this example, let's install the MongoDB add-on and cover how to connect it with the Node.js app we're building.
5.1 Installing MongoDB
Add the MongoDB add-on.
$ heroku addons:create mongolab

Besides the command, you can also add an add-on by visiting the marketplace directly.
5.2 Connecting with MongoDB
When you add mLab MongoDB, a MONGODB_URI is added to the Heroku environment variables. The MongoDB URL is shown below.
$ heroku config:get MONGODB_URI
mongodb://heroku_vfwj5vcl:spb8kerqhucborfd974cdbiqe8@ds125862.mlab.com:25862/heroku_vfwj5vcl
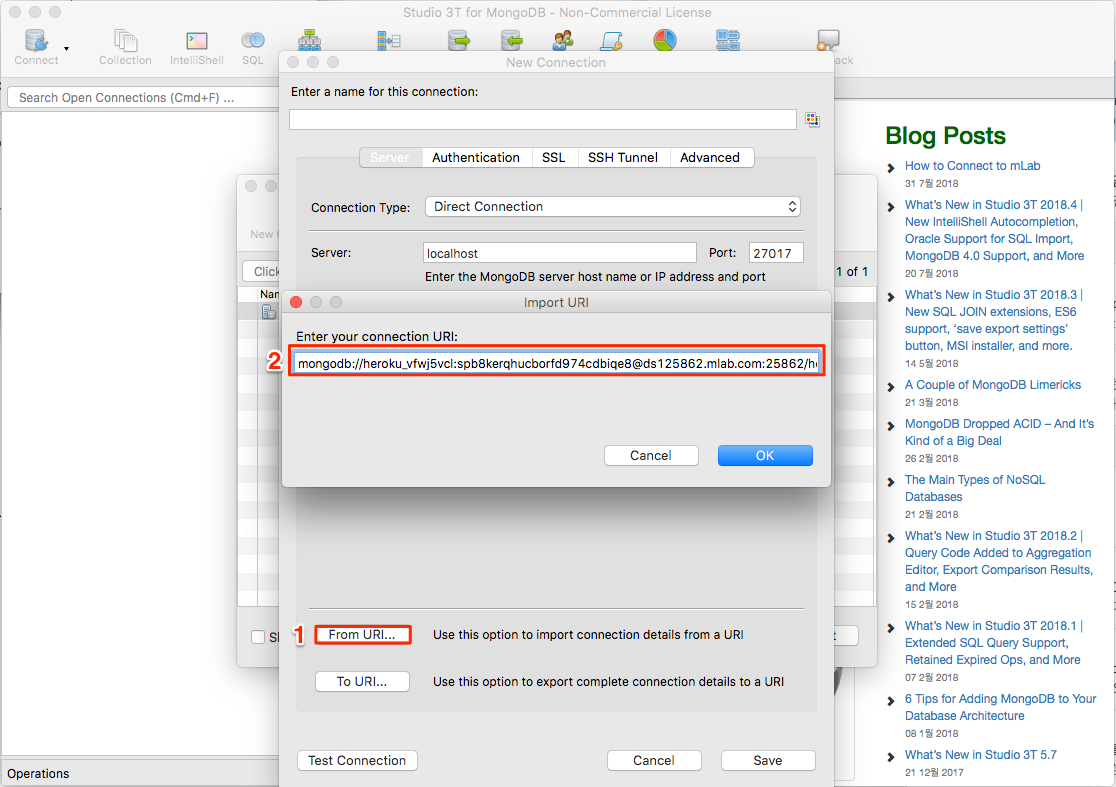
You can connect to MongoDB via the command, but personally I connected using a MongoDB GUI client (Studio 3T). Below is the screen for entering new connection info in Studio 3T.
After connecting to the DB, enter the data the app needs. For dummy data, I used previously written data. (data link)
db.timers.insert([
{
  "timer_description": "Korean vocabulary study",
  "timer_interval": {
    "hours": 0,
    "minutes": 30
  },
  "timer_total": {
    "hours": 2,
    "minutes": 30,
    "seconds": 30
  },
  "timer_status": true,
  "start_date": "2017-04-01"
},
…
]
5.3 Modifying the Code
Let's write code that fetches the JSON values of the data we entered into MongoDB earlier when the browser visits /timers. First, to use MongoDB from Node.js, you need the mongoose module. Install the mongoose module with the Npm command.
$ npm install --save mongoose
Create the file needed for the app to connect to MongoDB, and modify the existing code. Create a schema file matching the document structure you want.
$ mkdir -p models
$ vim models/timer.js
const mongoose = require('mongoose');
const Schema = mongoose.Schema;

const timerSchema = new Schema({
    timer_description: {
        type: String, unique: true
    },
    timer_interval: {
        hours: {type: Number},
        minutes: {type: Number}
    },
    timer_total: {
        hours: {type: Number},
        minutes: {type: Number},
        seconds: {type: Number}
    },
    timer_status: {
        type: Boolean
    },
    start_date: {
        type: Date,
        default: Date.now
    }
});

module.exports = mongoose.model('timer', timerSchema);
Modify the main index.js file. Implement it so that all data can be queried when /timers is accessed via the RESTful API.
$ vim index.js
const express = require('express')
const path = require('path')
const PORT = process.env.PORT || 5000
const mongoose = require('mongoose');

// CONNECT TO MONGODB SERVER
MONGODB_URI='mongodb://heroku_vfwj5vcl:spb8kerqhucborfd974cdbiqe8@ds125862.mlab.com:25862/heroku_vfwj5vcl'
mongoose.connect(MONGODB_URI);

// DEFINE MODEL
const Timers = require('./models/timer');

express()
  .use(express.static(path.join(__dirname, 'public')))
  .set('views', path.join(__dirname, 'views'))
  .set('view engine', 'ejs')
  .get('/', (req, res) => res.render('pages/index'))
  .get('/timers', (req, res) => {
    Timers.find((err, timers) => {
      if(err) return res.status(500).send({error: 'database failure'});
      res.json(timers);
    })
  })
  .listen(PORT, () => console.log(`Listening on ${ PORT }`))
The code written so far is uploaded to github.
5.4 Verifying the Redeployment
Let's deploy to Heroku again and check.
$ npm start
$ git add .
$ git commit -m "added mongodb code"
[master 0bf189b] added mongodb code
  5 files changed, 194 insertions(+), 1 deletion(-)
  create mode 100644 models/timer.js

$ git push heroku master
$ heroku open

6. Appendix
6.1 Deploying an Existing App to Heroku
I deployed Heroku for an existing Node.js project I had written. The actual process isn't much different from the sample project above.
First, create a Procfile.
$ vim Procfile
web: node app.js
Create the Heroku app with the create command.
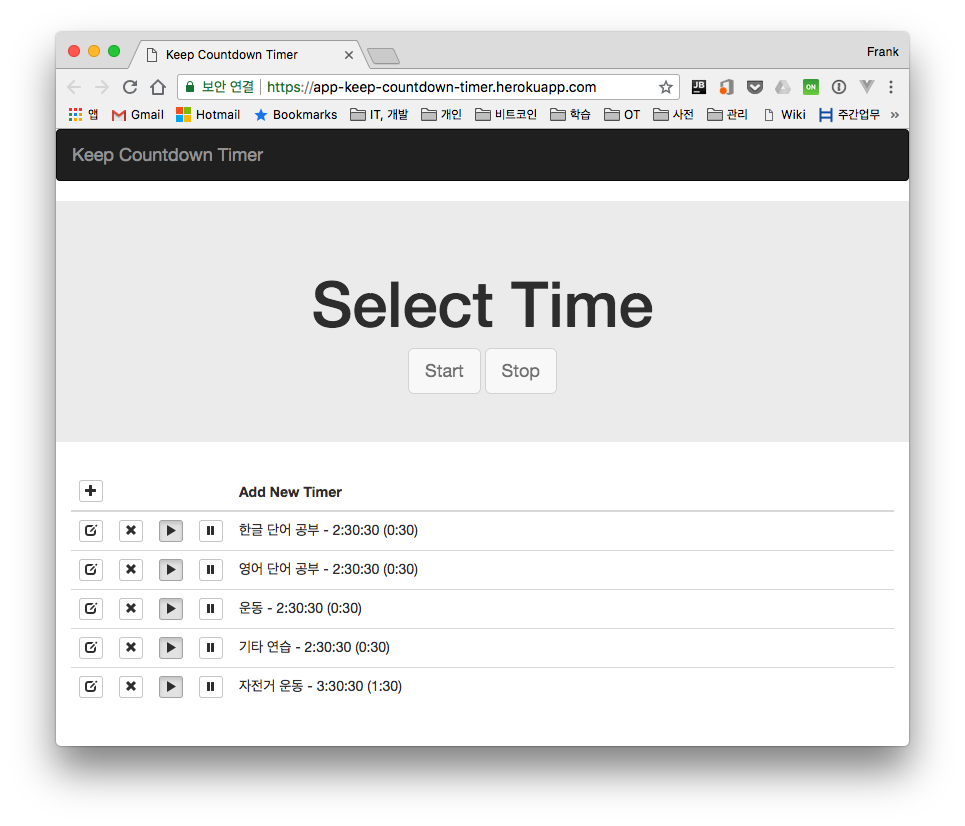
$ heroku create app-keep-countdown-timer
Creating ⬢ app-keep-countdown-timer... done
https://app-keep-countdown-timer.herokuapp.com/ | https://git.heroku.com/app-keep-countdown-timer.git
Create the MongoDB add-on and get the URL.
$ heroku addons:create mongolab
$ heroku config:get MONGODB_URI
Apply the newly obtained MongoDB URL in the code and load the dummy data into MongoDB.
$ node data/populate.js
If everything is fine in the local environment, commit and deploy to Heroku.
$ git add .
$ git commit -m "added mongodb code"
[master 0bf189b] added mongodb code
 5 files changed, 194 insertions(+), 1 deletion(-)
 create mode 100644 models/timer.js

$ git push heroku master
$ heroku open
6.2 Command Collection
In addition to the Heroku commands already mentioned, here's a collection of commands that are useful to know.
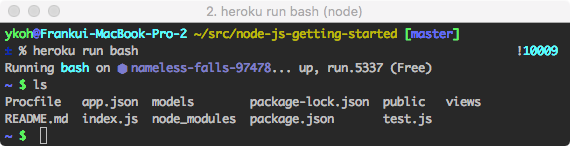
- heroku run bash - runs bash on the running app
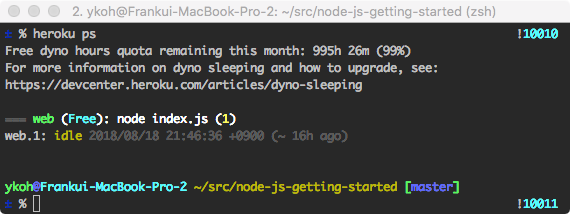
- heroku ps - lets you see running processes. You can also see how much dyno time remains
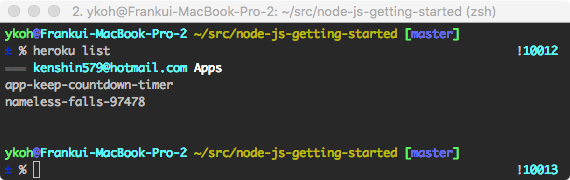
- heroku list - shows the apps registered with Heroku
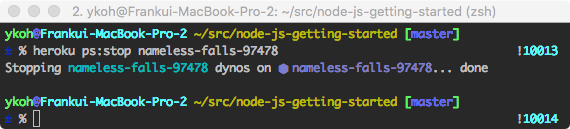
- heroku ps:stop - stops a running app
7. References
-
IaaS, PaaS, SaaS
-
Heroku Docs