1. Overview
I came across n8n through a recommendation from a coworker. It is a workflow-based automation tool that works great for connecting various services—especially AI—and automating them. In this post, we will look at how to install and run n8n on a Raspberry Pi.
2. How to Install n8n on a Raspberry Pi
2.1 Prerequisites
2.1.1 Update Installed Packages
Run the following command to keep the Raspberry Pi's packages up to date.
> sudo apt update && sudo apt upgrade -y
2.1.2 Install Node.js and Check the Version
Since n8n runs on Node.js, you need to install the latest version of Node.js.
> curl -fsSL <https://deb.nodesource.com/setup_18.x> | sudo -E bash -
> sudo apt install -y nodejs
Check the installed Node.js version to confirm it was installed correctly.
> node -v
2.1.3 Install n8n
Now, use npm to install n8n globally.
> sudo npm install -g n8n
2.2 Configuring the system service file for n8n
Registering n8n as a system service makes it start automatically when the Raspberry Pi boots.
2.2.1 Create the Service File
sudo vi /etc/systemd/system/n8n.service
Add the following content.
[Unit]
Description=n8n Automation Tool
After=network.target

[Service]
ExecStart=/usr/bin/n8n
Restart=always
User=pi
Environment=PATH=/usr/bin:/usr/local/bin
Environment=NODE_ENV=production
Environment=N8N_COMMUNITY_PACKAGES_ALLOW_TOOL_USAGE=true
Environment=N8N_BASIC_AUTH_ACTIVE=false
Environment=N8N_SECURE_COOKIE=false
Environment=N8N_LICENSE_ACTIVATION_KEY=ba0ffeb7...omitted
WorkingDirectory=/home/pi/

[Install]
WantedBy=multi-user.target
PATH=/usr/bin:/usr/local/bin→ Sets the executable binary path to ensuren8ncan runNODE_ENV=production→ Configuresn8nto run in a production environmentN8N_COMMUNITY_PACKAGES_ALLOW_TOOL_USAGE=true→ Allows community-provided packages to be usedN8N_BASIC_AUTH_ACTIVE=false→ Disables basic authentication so anyone can access it (change to true if you need security)N8N_SECURE_COOKIE=false→ Disables the secure cookie feature (it is common to leave this false if you are not in an HTTPS environment)N8N_LICENSE_ACTIVATION_KEY→ The license activation key forn8n(required when using a paid plan)
2.3 Enabling and Starting the Service
Register and enable the service.
> sudo systemctl daemon-reload
> sudo systemctl enable n8n
> sudo systemctl start n8n
Check whether it is running correctly.
> sudo systemctl status n8n
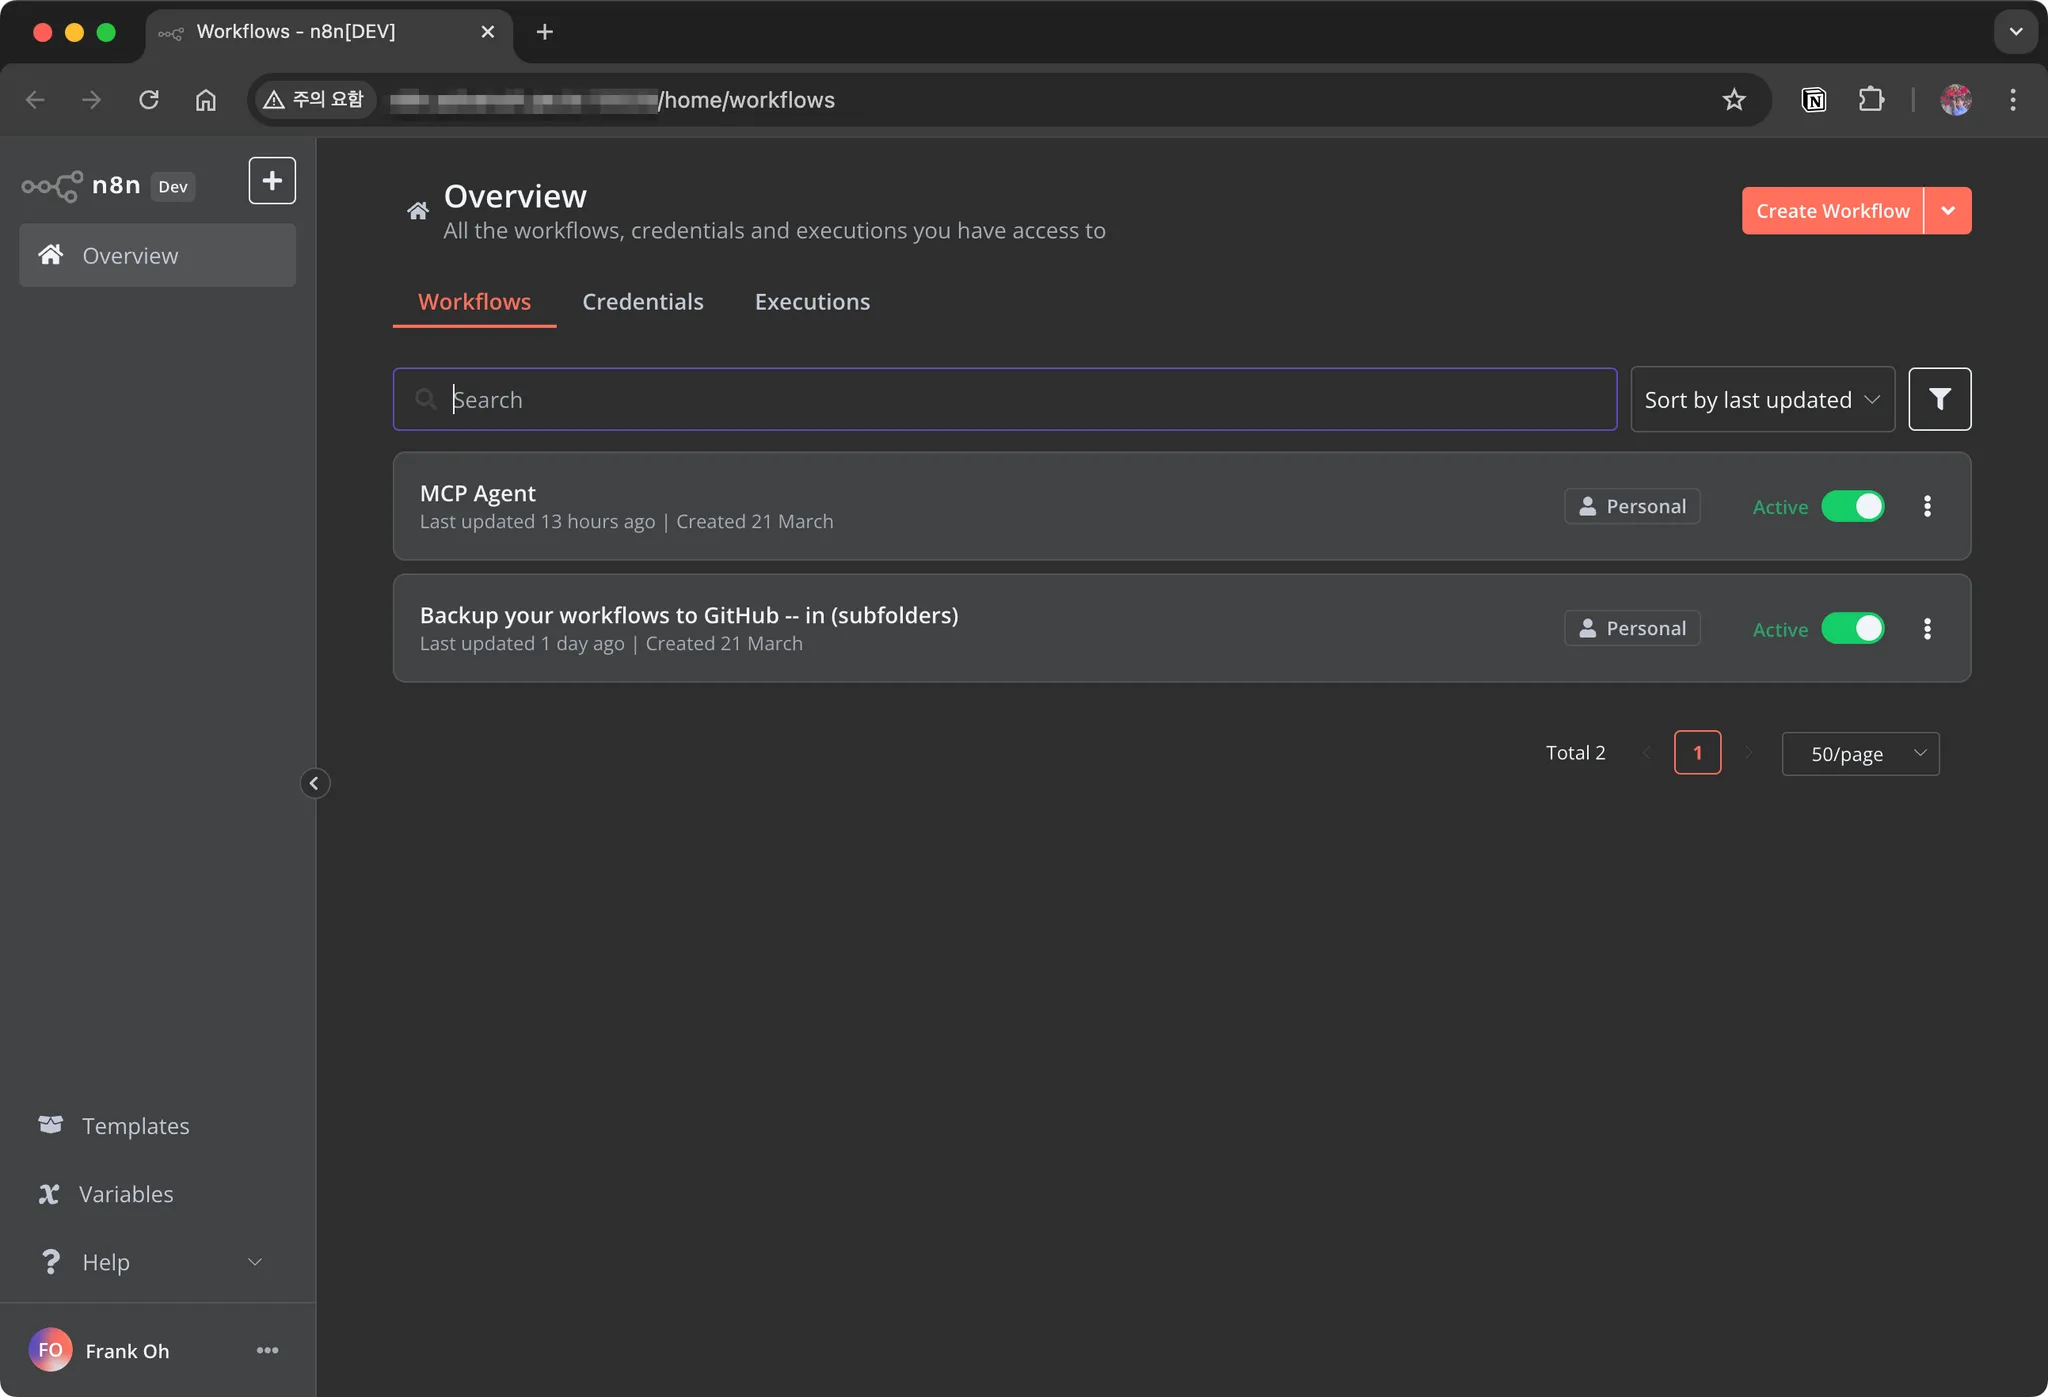
3. Connecting to n8n
Once n8n is running correctly, you can access it from a web browser at http://localhost:5678 to verify.
4. Conclusion
We successfully installed n8n on the Raspberry Pi and registered it as a system service so it can run reliably. With this, you can build and make use of automated workflows. Additionally, if you need security, it is a good idea to enable basic authentication and consider setting up HTTPS.
Personally, since I wanted to access and work on it from outside as well, I set up port forwarding on my home iptime router and have been using it that way.